How to set up and use the weBoost Home Room cell signal booster in your RV
Many RV campsite locations have little or no cellular coverage, meaning potentially no access to the internet or use of a cell phone.
The use of a cellular booster can help, amplifying existing cellular signals to improve access to cellular phone and internet services. Weboost is a popular brand of boosters and the booster we picked to help improve our cell service while camping with our Airstream RV. This article reviews our experience using the Weboost Home Room booster kit and walks through the setup and use of the system.
Weboost offers several models of cell boosters that could be used in recreational vehicles. The Weboost Drive X RV cell booster package is a vehicle booster intended for use while driving your RV, but may be less effective compared to other Weboost models when the vehicle is parked.
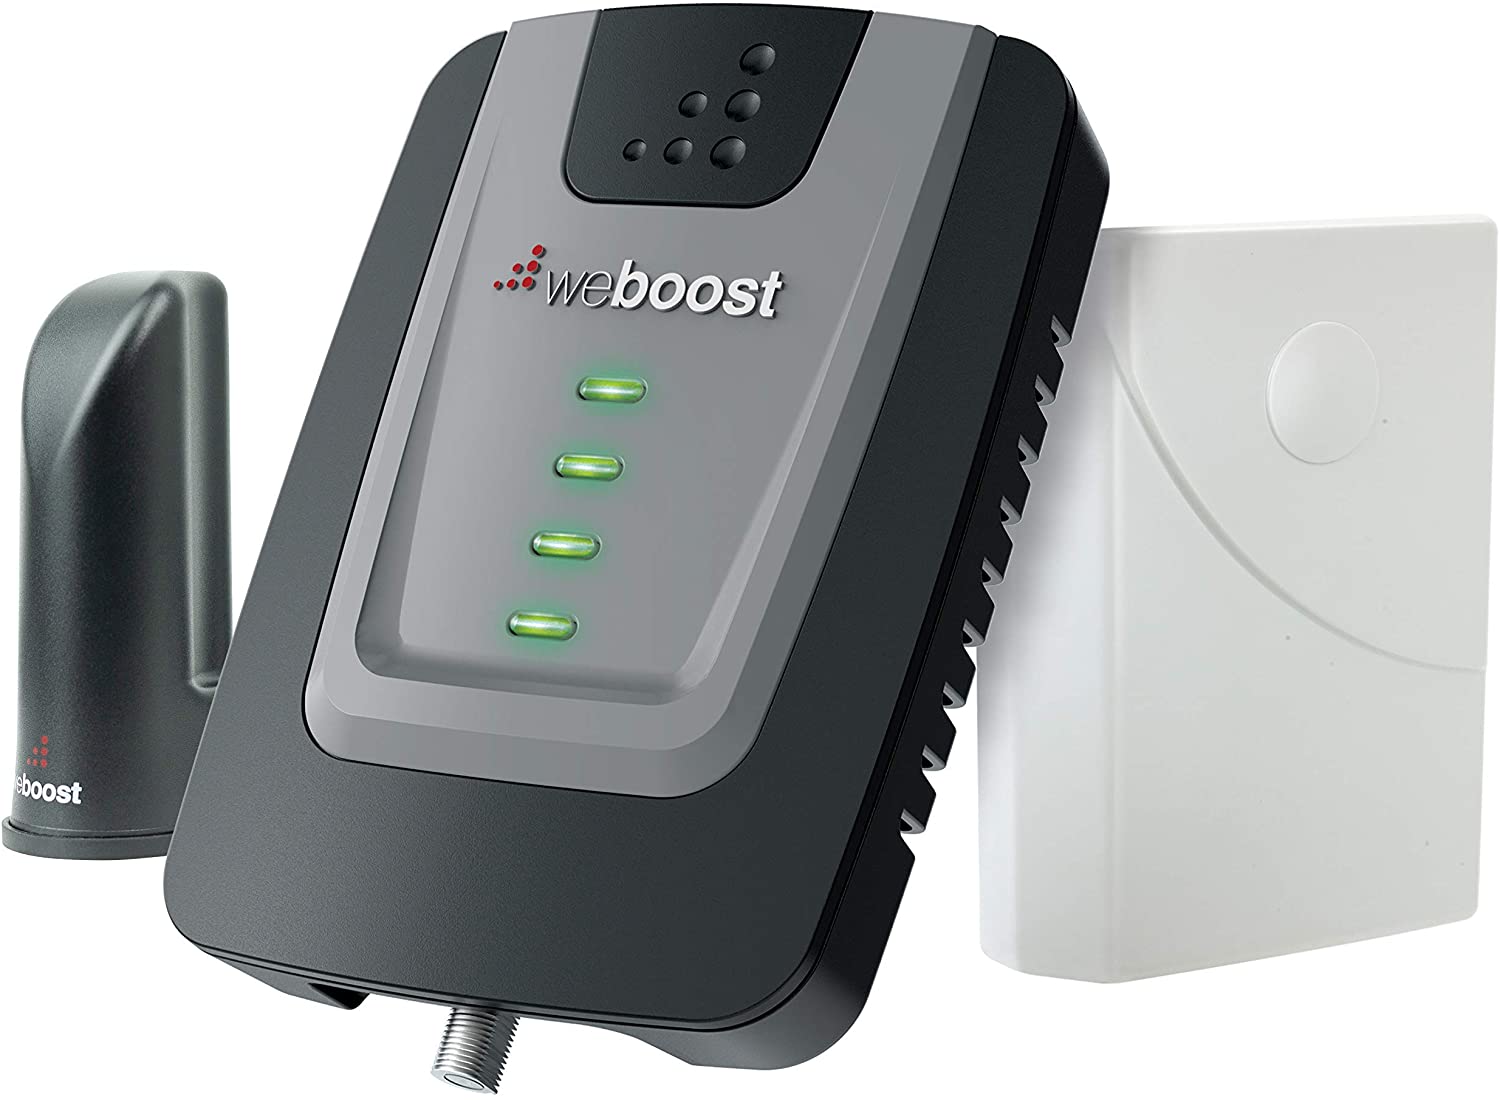
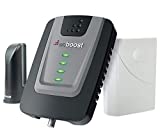
As we were mainly interested in cell signal boosting for our campsite parked RV, we decided to order and try the smallest home booster offered by Weboost, the Home Room booster kit (model #472120).
This Weboost Home Room package matches the needs of most RVs well on paper. The specs on this system suggest cell signal amplification available for an area of 200 to 1,200 sq. ft., depending on the existing cell signal strength.
The WeBoost Home Room cell signal booster works great for RV and camping use.
We installed the Weboost Home Room booster in our 23′ Airstream RV and thus far are happy with the results. At 4 of the last 5 campsites we visited, we were got sufficient cell signal boost from the unit to use the phone, text and internet. The one campsite that the booster did not work to provide cell phone service was about 17 miles from the closest cell tower.
For the campsites that the booster was successful at providing cellular service, we were nearly always able to generate 2-3 bar signal strength service using the Weboost unit. The cell towers supplying these campsites were generally less than 10 miles away.
In general, when we were able to gain cell service, the weaker original signals (those with around 1 bar of signal strenth), only boosted signals enough to offer marginal internet use, and fair phone use. Even so, considering these where locations with little or no service to start with, to get useable service was impressive. Below is a brief summary of our findings of use of the Weboost Home Room unit at campsites with our Airstream RV.
Summary of Cellular Boosting Performance For The Weboost Home Room – Stationary RV Use:
Weboost RV Performance
Native Cell Signal Strength (bars)
Boosted Cell Signal Strength (bars)
Device Range from Booster Unit (ft)
Expected Phone/Text Function
Expected Internet Funtion/Speed
0-1
2-3
2-5
fair
poor (0-1 Mbps)
1-2
3-4
3-8
good
fair (0.5 - 2 Mbps)
2-3
4-5
5-10
excellent
good (2-4 Mbps)
3-4
5
10-15
excellent
excellent (3-5 Mbps)
4-5
5
15+
excellent
excellent (5+ Mbps)
As you can see, in our experience you will generally need at least one bar of existing cell service signal strength to get meaningful results using the Weboost. On our most recent trip to central Minnesota, we able to boost zero to one bar of cell phone service to three to four bars and usable internet – it really depends on the geography and available towers.
What we did find is that the Weboost unit works. It does require a bit of fine tuning of the outdoor antenna for the best signal boost, but for me that is part of the fun. Once connected and running, devices generally need to be fairly close, like 5 feet or so, to the interior boost antenna. Stronger signal allow a wider signal “broadcast” area, often allowing devices up to 10 to 20 feet to benefit.
Weboost Home Room kit for RV use Review
Overall, we are very happy with the performance the Weboost Home Room unit using it with our RV. I highly recommend the unit. I did buy the factory refurbished unit for $299 (vs. $399 for the new unit) and I haven’t had any trouble with it. In summary: Yawesome!
Helpful tips for using the Weboost Home Room for RV use:
purchase the refurbished unit to save $100
use a cell tower locator app or website prior to arriving at your destination to help with aiming the outdoor antenna
position the outdoor antenna at least 20′ away from the booster unit to help avoid feedback and errors
use the RV cable plug (if you have one) as an easy way to pass the outdoor antenna signal into the RV
point the indoor antenna away from the direction of the outdoor antenna and tower to help avoid feedback and errors
position the indoor antenna at least 18″ away from the booster unit to help avoid feedback and errors
Overview | Weboost RV Cellular Signal Boosting
Project Goal: Install and fine tune the Weboost cellular signal booster for your RV
Order the Weboost kit that works for your RV set up. If planning to use while the RV moving, use an approved booster for mobile vehicle use. We used the Home Room kit as we just use the booster while the RV is parked.
The outdoor antenna for the booster can be mounted on a permanent structure or assembled and disassembled for each use. Keep in mind that the antenna is directional and typically needs to to be aimed toward the nearest cell tower.
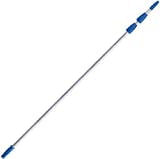
We use a telescopic aluminum cleaning pole to raise the antenna for each trip. Once parked, I mount the outdoor antenna to the telescopic pole, which I store in the back bumper storage locker, for each use.
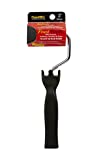
The Weboost outdoor antenna comes with a mounting bracket that can be attached to the back of the antenna, then mounted on the telescopic pole threaded end. I use a cut-off paint roller handle as the end nut to secure the antenna mount to the telescopic pole.
Raise and mount and connect the outdoor antenna.
With the Weboost outdoor antenna mounted to your pole or mount of choice (aluminum telescopic cleaning pole for us), connect the supplied RG6 coaxial cable to the antenna connection and raise and initially aim the antenna toward the target cellular tower.
To find the closest cellular tower for the service you are using, try the FindTower or similar app. These apps will map the location of cell towers around your location. Since there may not internet service at your campsite, try and remember to do this ahead of time and record the tower locations. Once you have basic idea of the tower location (southeast, etc.), point the Weboost outdoor antenna toward the tower.
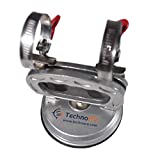
Mount the antenna mounting pole on the side of your RV or in a similar location that will allow you to turn the pole and adjust the direction of the antenna. I use a TechnoRV suction cup pole mount to hold the telescopic pole, resting the base of the pole on the ground or on the mount for the awning support. The outdoor antenna needs to be some distance from the indoor booster and antenna to avoid booster signal feedback and for best function. Weboost recommends at least 20' of height or 25' of distance between the outdoor antenna and indoor equipment.
Next, connect the antenna coax cable to the Weboost unit, either directly or using a pre-wired external connection.
Connect the booster unit to the outdoor and indoor antennas.
Connect Weboost amplifier unit (grey unit with 4 LED lights) to both the outdoor antenna (larger white, book-sized antenna) and the indoor antenna (black, fist-sized unit). The outdoor antenna should be at least 20" away from the booster unit to prevent signal feedback. The indoor antenna should also be a distance from the booster unit, Weboost recommends at least 18". The indoor antenna ideally should face away from the direction of the outdoor antenna and cell tower.
Once the connections are made, connect power to the Weboost unit. The unit features 4 LED lights that should all glow steady green if the unit is functioning properly. If some of the LEDs are orange or red, try changing the direction of the outdoor antenna (the signal from the tower may be too strong) and changing the distance between the booster and the antenna(s).
Adjust system to optimize cellular signal strength.
Once the Weboost unit is connected and powered up, optimize the cell signal strength by adjusting the outdoor and indoor antennas.
The outdoor antenna should be directed toward the cell tower of interest. Once the system is powered up and running properly (all 4 LEDs should be solid green), try making very small adjustments to the direction of the outdoor antenna to optimize signal strength. Use the bars on your phone as a gross indication of signal strength. Some phones will display the numeric dB signal strength, newer apple phones do not. You can also run serial internet speed checks using a website (like fast.com) or an app on your phone, to help optimize the direction of the outdoor antenna.
The indoor antenna can be adjusted by turning it toward the device(s) you are using to attempt to improve signal strength. The distance from the device to the indoor antenna is very important and generally limited to 10 - 20' or so. The closer your device to the indoor antenna the better the performance in general. This is especially true for amplification of very weak cell signals.
The images above show the internet speed as measured by fast.com with and without the Weboost Home Room booster unit at the Savanna Portage State Park campsite in central Minnesota this fall. The existing cell signal was very weak, with no or one bar of signal strength on our phones, with barely any phone service and no internet service noted without the booster. After setting up and optimizing the Weboost set up, we were able to get 3 - 4 bars of LTE service with good phone service and decent internet speeds up to ~ 2 Mbps. We use ATT cellular service and Apple iPhones with local hotspot connection to laptop for internet service.
I agree, the pole mounting is an issue. I used the suction mount near the rivet line just before the front window and clamped this to the pole a few feet from the handle end of the aluminum pole. I secured the end of the pole to the awing support by tightly tying the blue handle to the side of the support in a position that aligned well with the TechnoRV suction mount. This was my first attempt mounting the telescoping pole and it was definitely not a perfect setup.
The issue with the suction mount damaging the aluminum panels is troubling, sorry, I will add a warning above. I did notice a light mark where the suction cup was mounted, but it seemed cosmetic. I suspect mounting the suction cups close to the rivet seam provides a bit more support for the mount and may be less likely to damage the panels.
I’m interested in ideas to improve the pole mount. Using the ground would help, but I was looking for more height, I believe. Maybe a base on the ground to slide the pole handle into and then a strap or similar to secure the pole to the awing support would be better. I try a few things and reply.
Thanks so much for the message and nice to hear from you. We love our Airstream and have already been back to Savanna Portage this April, what a great park.
Gary
Hello! Not sure you will remember us…we had the 25’ flying cloud next to you at savanna Portage state park last fall.
I just hooked up the WeBoost Drive Reach Rv cell signal booster. Biggest challenge was getting the outside antenna cable I to the inside of the trailer . The cable is now 50 ohms instead of 75 like past kits, so the 75 ohm satellite connection on the trailer wasn’t an option.
We got the cable run through o e of the storage compartments up under one of the beds and it’s all fine.
Soooo…here’s what turned out to be our biggest issue…where in the heck did you get the techno rv suction cup to hold ( suction) onto the trailer?!!! The wrap around windows are too curved so that didn’t work. We tried a seemingly flat spot on the aluminum and it suctioned on but left a dimple on the trailer😢….won’t be trying that again. Not sure if it will pop out any of the other flat windows but will at the least make them unable to open with a pole running outside of them.
Is like to use this suction mount but can’t seem to find a good place to put it to stabilize the pole.
Would like to hear how and where you mounted it .
Hope your travels have been great and you are enjoying the Airstream!!!


Hi Laura, Chris and Lucy!
So sorry I missed your comment earlier!
I agree, the pole mounting is an issue. I used the suction mount near the rivet line just before the front window and clamped this to the pole a few feet from the handle end of the aluminum pole. I secured the end of the pole to the awing support by tightly tying the blue handle to the side of the support in a position that aligned well with the TechnoRV suction mount. This was my first attempt mounting the telescoping pole and it was definitely not a perfect setup.
The issue with the suction mount damaging the aluminum panels is troubling, sorry, I will add a warning above. I did notice a light mark where the suction cup was mounted, but it seemed cosmetic. I suspect mounting the suction cups close to the rivet seam provides a bit more support for the mount and may be less likely to damage the panels.
I’m interested in ideas to improve the pole mount. Using the ground would help, but I was looking for more height, I believe. Maybe a base on the ground to slide the pole handle into and then a strap or similar to secure the pole to the awing support would be better. I try a few things and reply.
Thanks so much for the message and nice to hear from you. We love our Airstream and have already been back to Savanna Portage this April, what a great park.
Gary
Hello! Not sure you will remember us…we had the 25’ flying cloud next to you at savanna Portage state park last fall.
I just hooked up the WeBoost Drive Reach Rv cell signal booster. Biggest challenge was getting the outside antenna cable I to the inside of the trailer . The cable is now 50 ohms instead of 75 like past kits, so the 75 ohm satellite connection on the trailer wasn’t an option.
We got the cable run through o e of the storage compartments up under one of the beds and it’s all fine.
Soooo…here’s what turned out to be our biggest issue…where in the heck did you get the techno rv suction cup to hold ( suction) onto the trailer?!!! The wrap around windows are too curved so that didn’t work. We tried a seemingly flat spot on the aluminum and it suctioned on but left a dimple on the trailer😢….won’t be trying that again. Not sure if it will pop out any of the other flat windows but will at the least make them unable to open with a pole running outside of them.
Is like to use this suction mount but can’t seem to find a good place to put it to stabilize the pole.
Would like to hear how and where you mounted it .
Hope your travels have been great and you are enjoying the Airstream!!!
Thanks !
Laura , Chris and little white dog Lucy