Easy to make garlic dill pickle recipe for open water canning.
What’s better than a jar of fresh, spicy, dilly canned pickles made at home? Not much… here’s how you make them.
What’s better than a jar of fresh, spicy, dilly canned pickles made at home? Not much… here’s how you make them.
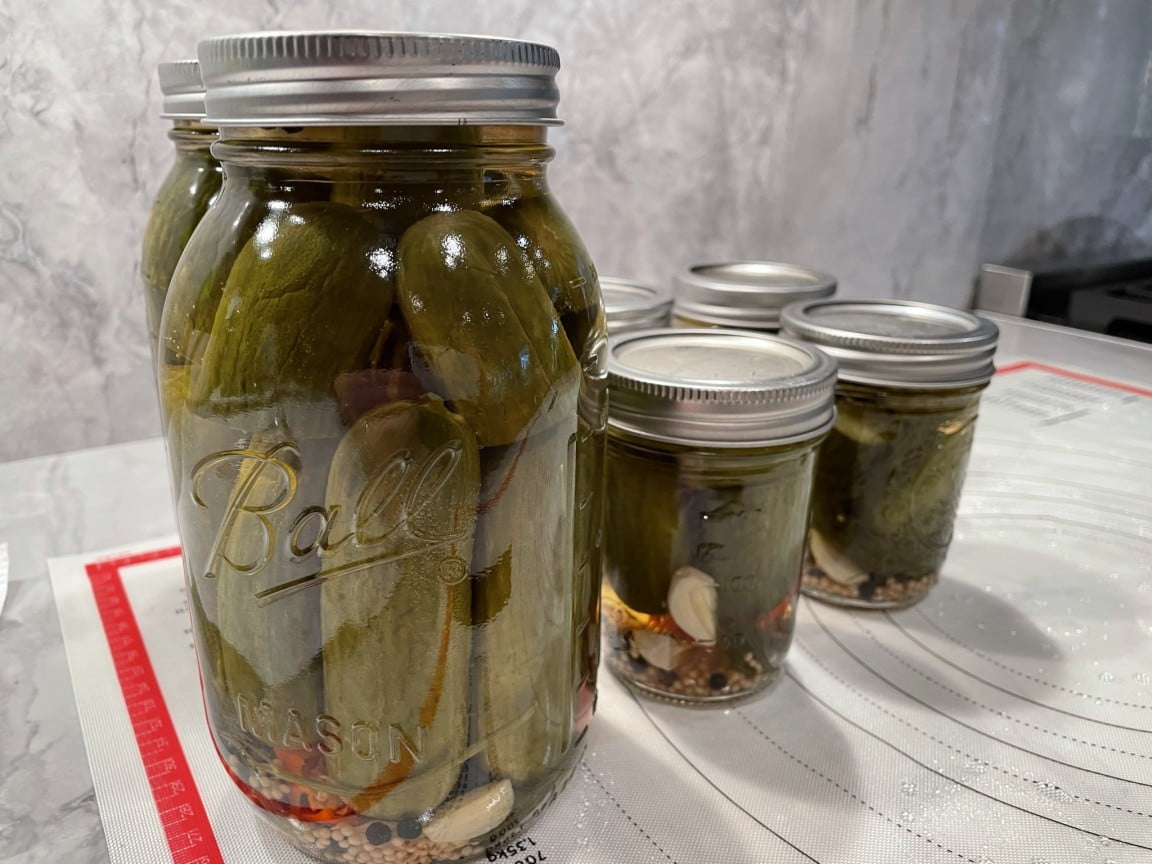
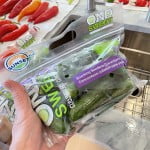
Canning your own dill pickles is a great DIY project. And even if you don’t grow your own cucumbers, Famers’ Markets and grocery store cucumbers work well to make pickles.
Making canned dill pickles is easier than most think and is a great weekend project for family or friends.
Before starting, however, take a bit of time to learn the basics of canning and pickling and the related food safety best practices. There are many excellent canning resources on the web, and here a few:
Pickling and canning are both food preservation methods.
Pickling adds salt and/or acid solutions (brine) to food. Canning heats foods within sealed containers.
Pickled foods are generally refrigerated and keep for weeks to months. The pickling process creates a hostile environment for unwanted microbes, keeping them at bay and preserving the pickled food. The pickling process also adds unique acid and salt flavor profiles to the pickled food.
Canned foods are safe to store at room temperature and keep for months to years. The canning process uses heat to kill pathogens within the container and prolonging the life of the food within the canning vessel.
Pickled foods can be also be canned by heating in a water bath or pressure cooker to prolong shelf life and allow for non-refrigerated storage. The water bath canned dill pickles made with this recipe are an example of a canned pickled food.
Use fresh, unspoiled produce. Common sense. Start with freshly picked, clean produce. Do not try and “save” old food by canning it.
Thoroughly clean the produce to be pickled or canned. Many pathogens live in soil. Properly cleaning foods to be canned reduces bacteria, molds and other microbes prior to packing the food in jars.
Use new canning lids for jars each time you can. Safe canning requires a secure, vacuum sealed container. Common canning lids are designed to be used once, and are not safe for re-use.
Clean and sterilize canning jars and utensils prior to adding food. Run the canning jars and utensils you plan to use through the sterile cycle of your dishwasher. Alternatively, wash then sterilize in boiling water (your canner water) your jars and tools prior to packing jars.
Follow canning recipes precisely, especially for vinegar (acid) and salt. Safe canning requires safe combinations of heat, acid and salt. This is especially true when canning in boiling water baths. It is the combination of heat and acid that protects canned foods from pathogens like Clostridium Botulinum in the spore form can survive temperatures up to 240 in non-acidic environments. When acid is added (like vinegar), Botulinum spores are killed at boiling water bath canning water temps.
Gather and organize all the supplies, utensils and ingredients. You will need a very large water bath canning pot that will hold enough water to cover a batch of canning jars by at least 2".
Many hardware stores carry canning supplies including open water bath canning pots. In addition, you will need canning jars and new canning lids for the jars. Do not reuse canning lids, as the seals could fail.
You will also need a canning jar grasper/lifter, and possibly a canning funnel for pouring hot brine into the jars.
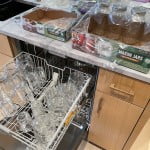
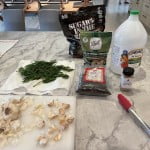
Safe canning requires sterile jars.
Canning jars are typically sterilized using boiling water, usually in the same large canning pot you plan to use to process the jars once they are packed and ready to be processed.
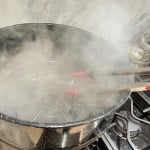
Start by filling the open water bath canning pot about 3/4 full of water. Bring the ;pot to a boil over high heat. Once the water is boiling, completely submerge the jars to be sterilized for at least 10 minutes. Use a specialized canning jar lifter or large silicone coated tongs to safely move the jars in and out of the canner water.
The total time needed to sterilize the jars depends on your altitude above sea level, and increases by one minute for every 1,000 ft of altitude. For example, if you live at 7,000 ft above sea level, leave the jars in the boiling water for 17 minutes to properly sterilize the jars.
Once the sterilization time has passed, you may remove the jars or leave them in the water bath up to an hour before filling the jars. If you remove the jars, use care to not contaminate the jars, placing them on a clean towel or rack to dry.
If the jars are out of the water bath for more than one hour, they should be re-sterilized.
Next, sterilize the jar lids by placing in a very hot, but not boiling water bath in a separate smaller kettle or sauce pan. Boiling water may damage the rubber sealing ring on the lids. Use a magnetic lid lifter or clean tongs to remove the lids without contaminating them.
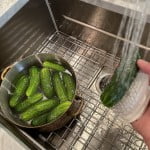
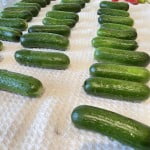
While the canning jars are sterilizing, clean the cucumbers, peppers and dill. Soak the cucumbers in cool water, then gently scrub with a vegetable brush. I will use a dish brush with a small amount of dish soap. If you use soap, be sure to thoroughly rinse the cucumbers to remove the soap. Place the cleaned cucumbers on a clean towel or paper towel to dry. Clean the peppers in the same fashion.
Next, clean the dill and discard any spoiled, spotted or old appearing dill. Place on a clean towel to dry or spin in a salad spinner. Trim to leave only a small amount of the dill stem.
Clean and prepare the garlic. Remove garlic bulb skins and trim off stem remnants and imperfections. Cut the garlic in quarters lengthwise. Ready the pepper corns and whole mustard seed.

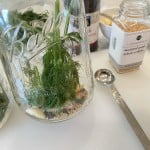
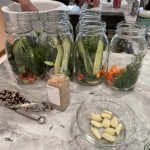
To each jar add a few sprigs of dill, 2 quartered garlic bulbs and a teaspoon of pepper corns and whole mustard seeds.
Next add any peppers you plan to use. For less spicy pickles, skip the peppers or use a mild pepper like banana peppers. For more spice and a bit of kick, use habanero, serrano or jalapeño pepper.
For one batch of these pickles I used banana peppers, cut into 1/2" rings and de-seeded, about one half pepper per quart jar. For a spicier batch of dills, I used habanero peppers halved, about one golf ball size pepper per quart jar.
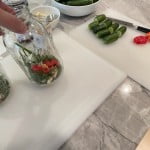
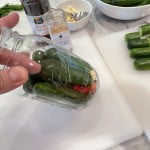
Finally pack the jar with the clean cucumbers. Pack them fairly tight as they tend to shrink in the jar. Leave about 1/2" of head room at the top of jar to ensure the tops of the cucumbers are covered in brine.
If using larger cucumbers, cut some of the cucumbers into shorter sections to fill the top of the jars. You can also slice the cucumbers lengthwise, but sliced cucumber pickles may not be as firm or crunchy as whole pickles from whole cucumbers.
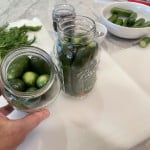
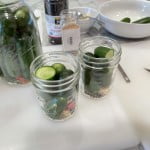
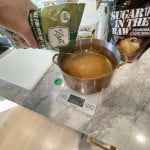
Make the brine for the pickles by adding the vinegar, canning salt and sugar to clean water. Combine the brine mixture in a large pot and heat to a boil, allowing the salt and sugar to dissolve. Reduce the heat, but keep the brine warm until adding it to the jars.
Make sure to use a quality vinegar with at least 5% acidity for safe canning. Also, use enough vinegar to properly acidify the brine to inhibit microbial growth and kill spores like those produced by Clostridium, the bacteria responsible for botulism.
Once the brine is ready, carefully fill each jar with brine, leaving about a 1/2" airspace at the top of the jars. Use care not to pour very hot brine into cool jars, as the may crack. Allow the brine to cool some prior to filling the jars. Use a pitcher or similar to pour the warm brine into the pickle jars. A canning funnel can help filling the jars.
Once the jars are filled, wipe the jar rim as need and place a clean lid and lid band on the jar. Finger tighten the lid band the seal the jars and keep the canning water out of the jars.
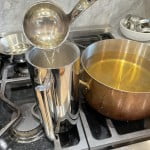
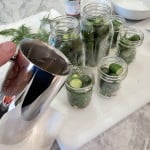
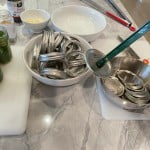
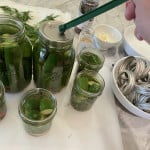
Allow the open bath canner to come up to boiling water temperature. Make sure there is enough water in the canner to fully cover the immersed canning jars by at least 2". Add more boiling water as needed. Keep the burner heat high during the canning process and the water temperature will drop with the addition of the jars.
Make sure the canning rack is in place within the canner. The rack keeps the jars off the bottom of the canner container and helps avoid overheating or underheating the jars.
Place the sealed canning jars into the hot water bath canner upright with enough space between jars to allow water to flow completely around the jars.
Once all the canner is full without crowding, allow the water in the canner to heat to a boil over high burner heat as needed. The addition of the cooler jars will drop the canner water temperature and require additional heat to bring the canner water back up to a boil.
Once the canner water is boiling, set a timer to continue to heat the submersed canner jars for at least 10 minutes, depending on your altitude above sea level. To determine the proper canning time, add 1 minute of time to the base 10 minutes for each 1,000 feet of altitude above sea level. For example, if you live at 3,500 feet above sea level, leave the jars in the canner for 13 1/2 minutes.
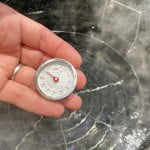
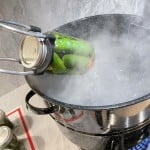
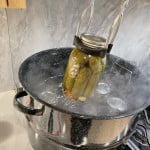
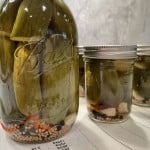
After boiling in the open water canner for the proper time (10 minutes + 1 minute for each 1,000 of altitude), remove the jars to a room temperature resting spot. I use a silicone bakers mat on top of our counter tops. The silicone withstands the heat, protects the counters from the water and is non-slip.
Allow the jars to slowly cool. As the jars cool, a vacuum is created within the pickle jars, pulling down the jar lid (creating a distinctive "pop") and creating an air-tight seal of the pickle jar. Allow the process to naturally occur and avoid manually pushing down the lids.
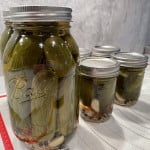
Once cool, inspect the lids to ensure they have properly sealed. If sealed, the lids should be concave and smooth with no flex. Label and date the jars. Water bath canned pickles with proper acid levels (like this recipe) have an optimal shelf life of 6 to 12 months.

Here you'll find all collections you've created before.