in

Airstream Stereo Speaker Upgrade

Upgrade your recreational vehicle sound system with easy-to-install in-ceiling speakers

Ever since I was a kid, one of the first upgrades I had to make on any vehicle was the sound system. We just bought a new Airstream 23′ Globetrotter, so here we go…

For the Airstream, the first thing I did was replace the factory speakers. Luckily, they are easy to remove and replace. Finding a replacement speaker for the slightly smallish 6 3/4″ opening was a tad challenging and limited my choices some, but I was able to find a few good candidates and settled on the Definitive Technology DI 5.5R in-ceiling speakers.

Upgrade your RV stereo speakers.
Upgrading our stereo speakers in our 2020 Airstream Globetrotter travel trailer.

Picking a replacement speaker for your specific RV will depend on the existing cut-out and your willingness to modify those cutouts, and the goals and specs of your system. Most modern systems will produce sufficient power for most commonly available speaker replacements.

Architectural in-wall or in-ceiling speakers generally make for good replacement RV speakers as they come in a variety of sizes, shapes and generally have simple anchoring systems which work with existing cutouts and do not typically require new holes for mounting screws. Automotive speakers will work too, but they generally require drilling additional holes for speaker mounting.

My RV (2020 Airstream Globetrotter 23′) has 7″ diameter round cut-outs. For this specific cutout, most round 6″ and larger speakers would not fit. Most 5 1/2″ and a few 6″ in-ceiling speakers will fit, here are a few of the nicer options from Amazon:

amzn_assoc_placement = “adunit0”;
amzn_assoc_tracking_id = “yawesome-20”;
amzn_assoc_ad_mode = “manual”;
amzn_assoc_ad_type = “smart”;
amzn_assoc_marketplace = “amazon”;
amzn_assoc_region = “US”;
amzn_assoc_linkid = “38cbd5d6f5098c8871f40f432849c697”;
amzn_assoc_design = “in_content”;
amzn_assoc_asins = “B001UL7PLU,B013WQIDR0,B07BR8CJMD”;

Overview | RV Speaker Upgrade

Project Goal: Remove and replace existing RV interior speakers with higher quality speakers.
Difficulty: Beginner
Time: 2 Hours
RV Speaker Upgrade Cost: $200 - 1,000+

Supplies List | RV Speaker Upgrade

Tools List | RV Speaker Upgrade

Steps | RV Speaker Upgrade

  1. Remove Existing Speakers
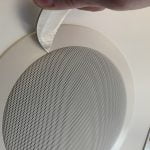
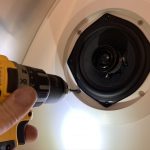
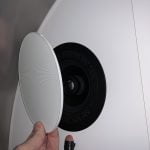
  2. Remove the existing factory speakers by removing the wire grill and loosening the speaker clamps. To remove the wire speaker grill, use a pick, the tip of a knife or similar to pry out the friction-fit grill. Next, loosen the four speaker clamps by loosening the 4 Philips clamp screws.

  3. Disconnect Old Speakers and Connect New Speakers
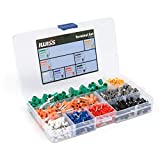
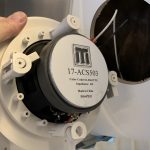
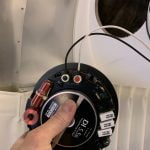
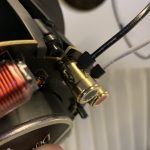
  4. Disconnect the factory RV speaker by removing the two speaker wire leads from the attachment terminals. Push the terminal tabs to release each speaker wire. You can now connect the new speakers to the speaker wires. Make sure to connect the negative (typically the black wire) to the negative speaker terminal. When using ferrules for speaker terminal connections, I like to insure the ferrule is the proper length - long enough to pass through the front and back of the terminal, but not too long to make contact with the speaker frame.

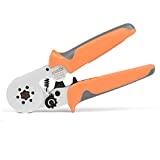
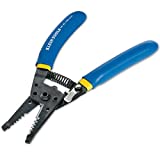
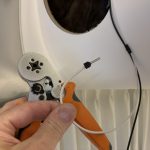
    Prior to connecting the new speakers, I like to cut, re-strip and dress the speaker wires with ferrules. Ferrules are wire crimps used to improve wire connections, especially when using stranded wire. To add ferrule terminals to your wires, simply strip the wire and pass an appropriately-size ferrule over the wire, then crimp.

  5. Mount New Speakers
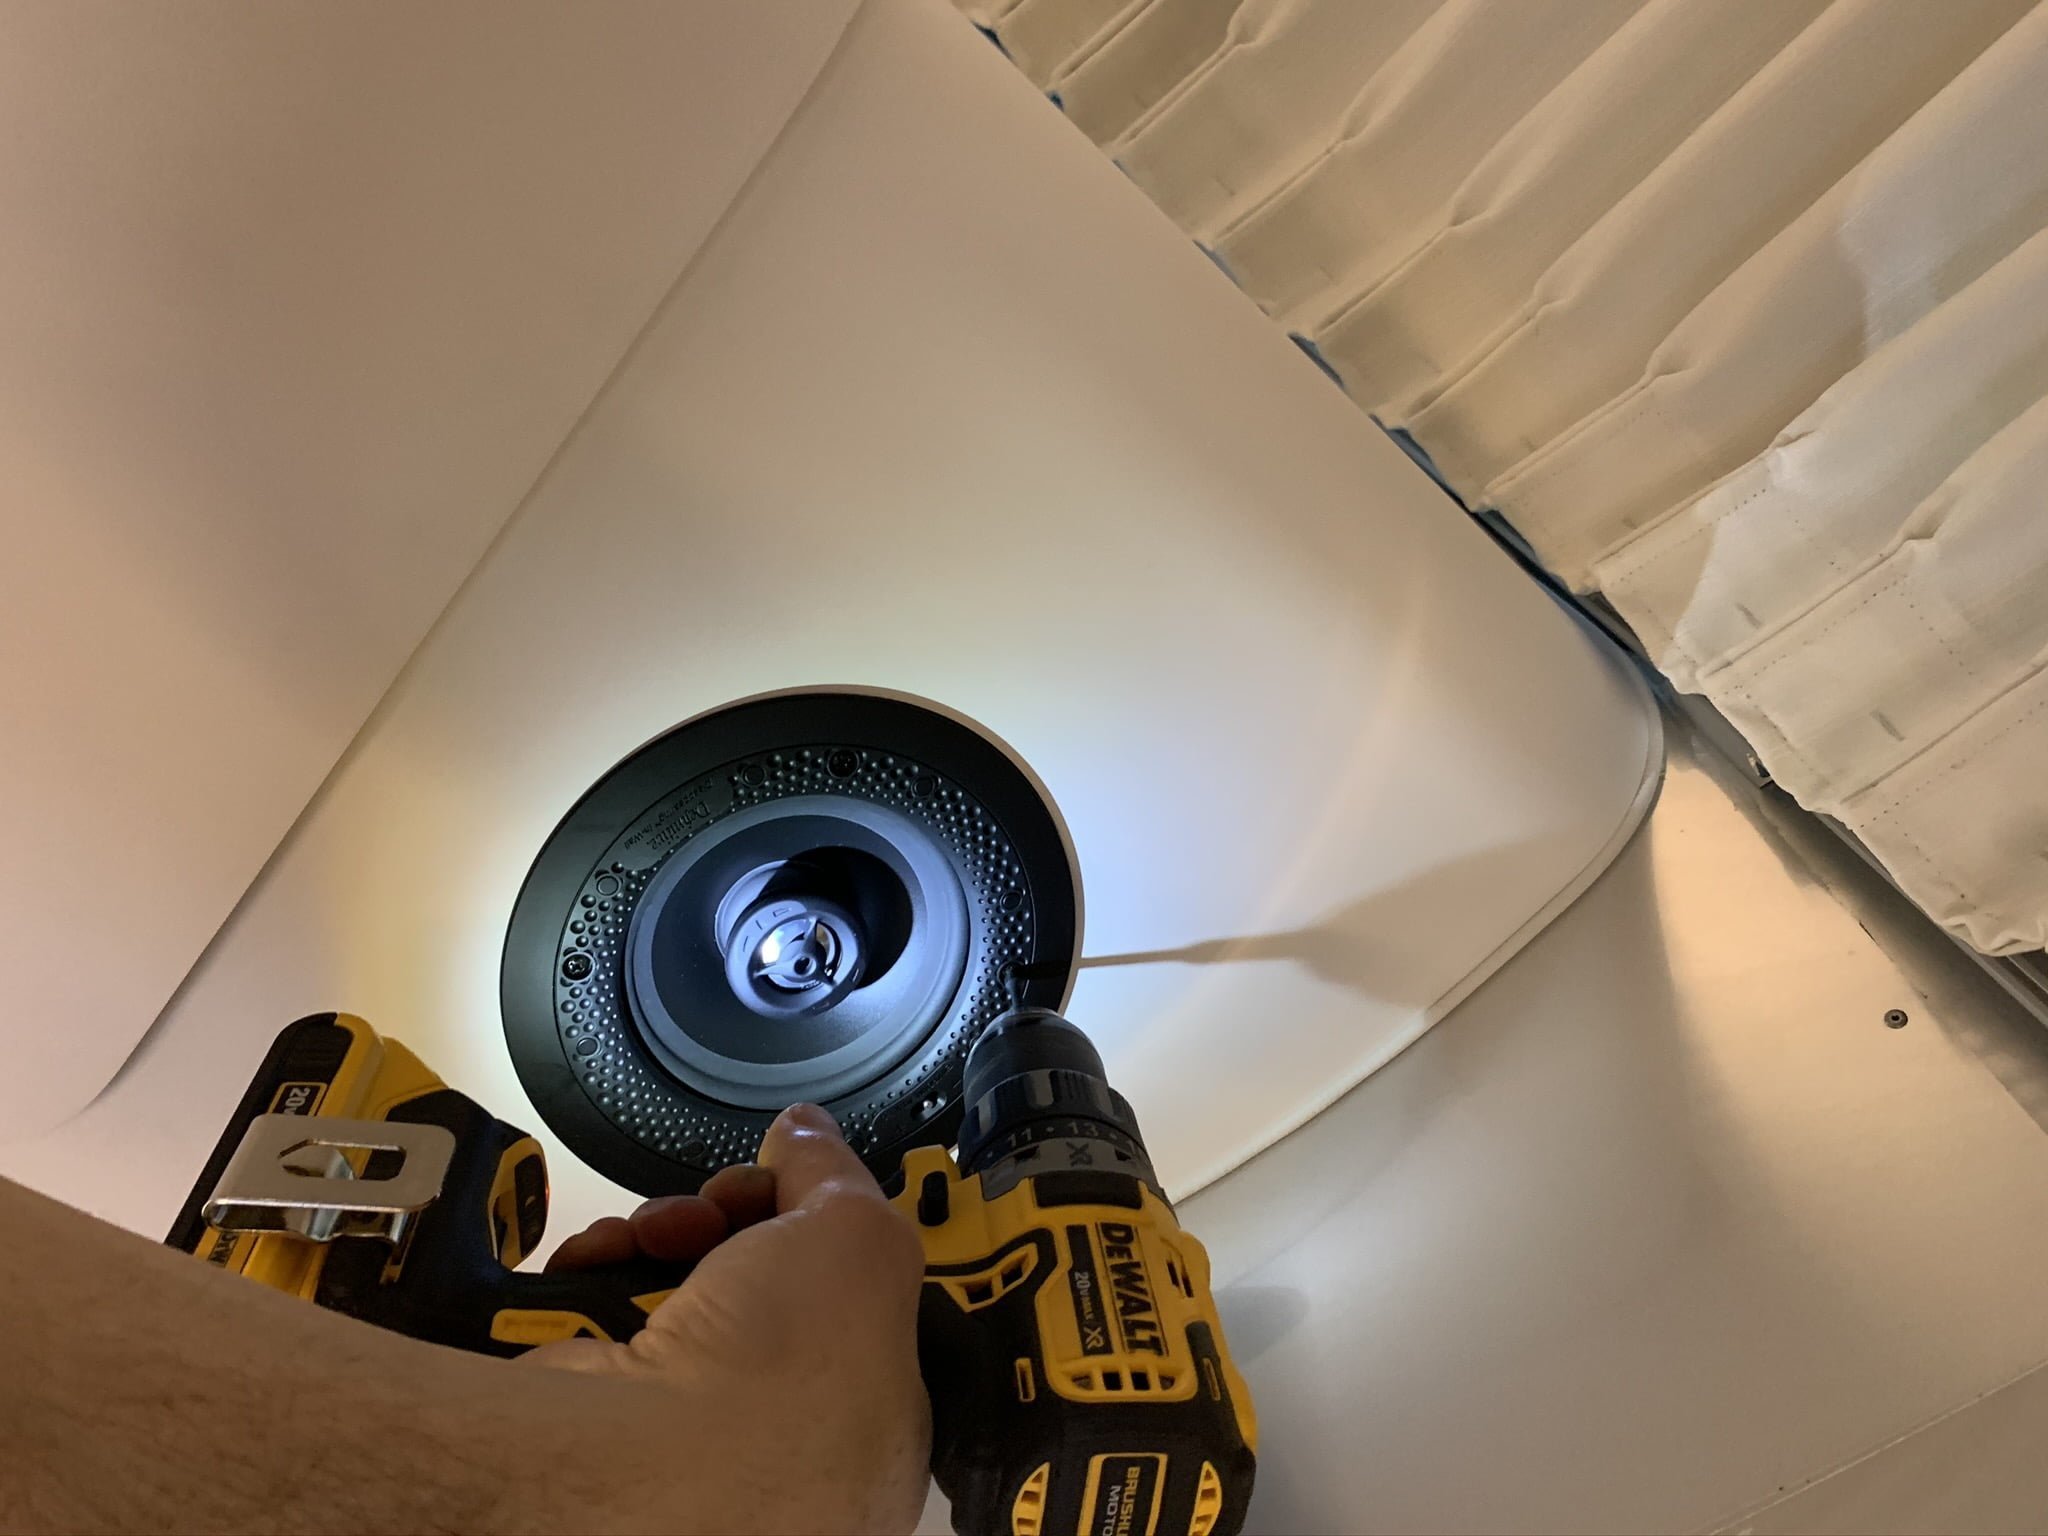
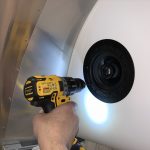
  6. After securing the speaker wires to the new speakers, mount the speakers. Many in-wall and in-ceiling architectural speakers like the one's I'm using, use a screw clamp to secure the speakers. These clamps turn out like spider legs to apply force to the back parameter of the mounting surface using screws turned from the front of the speaker. To use these clamps, start with the screws fully loosened to allow the clamps to fold in and clear the cut out hole. Once the speaker is in place, tighten the screws to activate and tighten these mounting clamps.

amzn_assoc_placement = "adunit0"; amzn_assoc_tracking_id = "yawesome-20"; amzn_assoc_ad_mode = "manual"; amzn_assoc_ad_type = "smart"; amzn_assoc_marketplace = "amazon"; amzn_assoc_region = "US"; amzn_assoc_linkid = "38cbd5d6f5098c8871f40f432849c697"; amzn_assoc_design = "in_content"; amzn_assoc_asins = "B001UL7PLU,B013WQIDR0,B07BR8CJMD";

Leave a Reply

Your email address will not be published. Required fields are marked *

3 Comments

Top-5 accessories for the Tesla Model 3 Long Range Dual Motor Black.

Tesla Model 3 Must-Have Accessories

Install a brake controller in a mercedes suv.

Brake Controller Install Mercedes SUV