Improved air conditioner cooling and lower noise by replacing the air duct registers and improving air return duct area.
We purchased a new 23′ Airstream Globetrotter in 2020. One slight disappointment is the ducted air conditioner system. It doesn’t seem to cool well and is relatively loud.
After some reading, it sounds like I’m not the only one disappointed. Record temps this year probably don’t help either. So, what to do?
Upgrade the performance of your Airstream Dometic ducted air conditioner system for quieter and better efficiency performance.
Our Airstream air conditioner / heat pump system runs off a single, roof-mounted 13.5 BTU Dometic Penguin II. The system is ducted via a pair of ceiling supply trunks, one on left and one on the right, that empty to the cabin via three 5″ round ducts on each side of the cabin. These ducts are covered with custom Airstream louvered stainless steel directional duct registers that allow control of air flow and discharge direction. Unfortunately these duct covers create airflow resistance and, I would guess, limit system performance even when fully open.
Airstream Registers Restrict Air Flow Decreasing Cooling Efficiency
While the design of the Airstream factory registers are intended to provide control of the volume and direction of HVAC system airflow, the function with the compromise of significantly restricted airflow.
In fact, after reviewing the documents for my Dometic 13.5 btu unit, the factory install manual “requires” 4 – 8 registers with at least 14 sq in of surface area per register. The registers on the Airstream are 5″ circular cutouts, which at baseline calculates to 15 sq in of surface area.
If Dometic requires a minimum of 4 registers of 14 sq in area, the total minimum area should be 4 x 14 or 56 sq in. If the factory Airstream registers restrict 40% of airflow (i think it’s closer to 60% even wide open), 6 Airstream registers would be 60% of 6 x 15 or 54 sq in.
So, not only is the surface area below the required minimum from Dometic, but removing the factory Airstream duct registers should at least double the airflow for a particular fan speed, which in turn should cool better and with less noise.
Dometic Penguin II 13.5 btu ac with heat pump ducting diagram.
This is the first fix. I will remove the factory duct registers and replace them with directional, low resistance grilles. Multiple forum posts at the popular Airstream forum Airforums, discuss and provide various fixes for this very problem. Most attempt to reduce the resistance of the ducts by cutting out the shutter vane material and reusing the duct covers.
I actually started with a version of this technique, but after trying a few options, decided to go with new lower-resistance grilles instead of modifying and replacing the factory Airstream registers. My hope is the lower flow resistance with improve airflow for quicker and quieter cooling.
Intake Vents and Manifold Area Can Often Be Improved
Another area of concern is the intake vents. It seems that a lot of the noise from the air conditioner comes from the intake vents. A first glance I assumed the two smallish return air vents were a bit small, creating a lot of turbulent air flow and noise.
The noise issue is obviously more complicated, but much of the noise does come from the intake vent area, mainly because the heart of the AC unit is just behind those vents.
The intake manifold area is important for cooling efficiency too. Many a forum post and YouTube video talks of the occasional missing gasket or just faulting materials or workmanship of the isolation mechanism between the intake (return) air and discharge (supply) air ducts.
Mixing of hot return air and cold supply air greatly reduces cooling efficiency of the system. This is my second area of focus – improving the isolation and insulation around the intake vents and manifold.
A Few Inexpensive Modifications Can Improve AC Cooling Performance and Reduce Noise
So how did it go? I kick myself for not measuring airflow or sound levels before the improvements, but I strongly feel the low flow ducts and intake area improvements made a big difference in the performance of our air conditioning and it seems quieter as well. Not bad for $100 worth of ducts, a bit of hardware, a roll of Reflectix and foil HVAC tape!
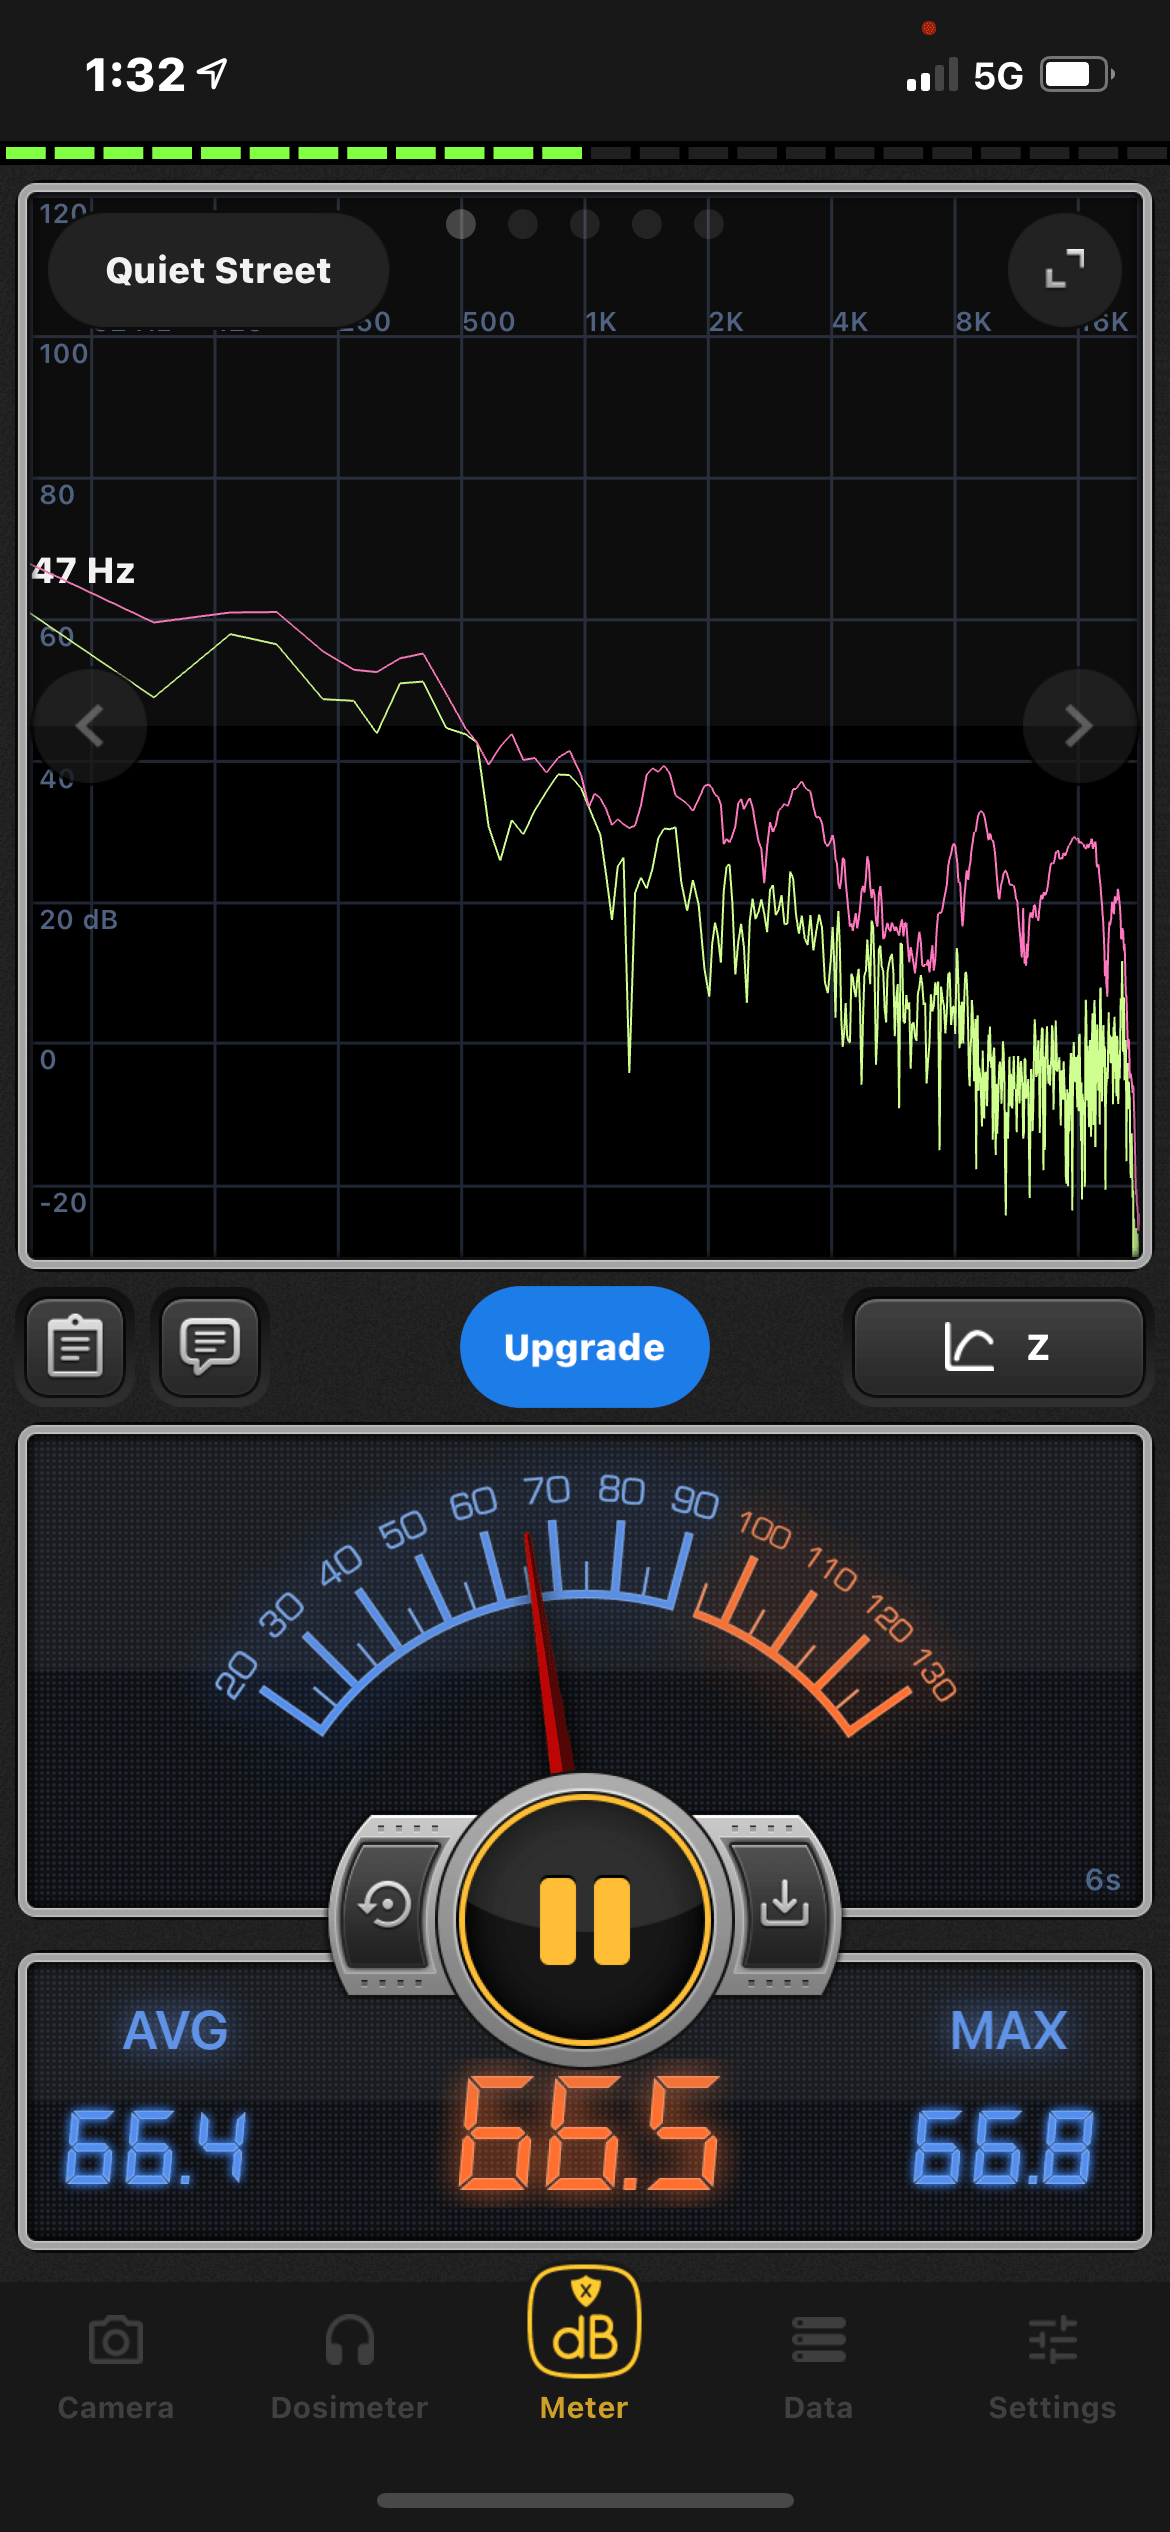
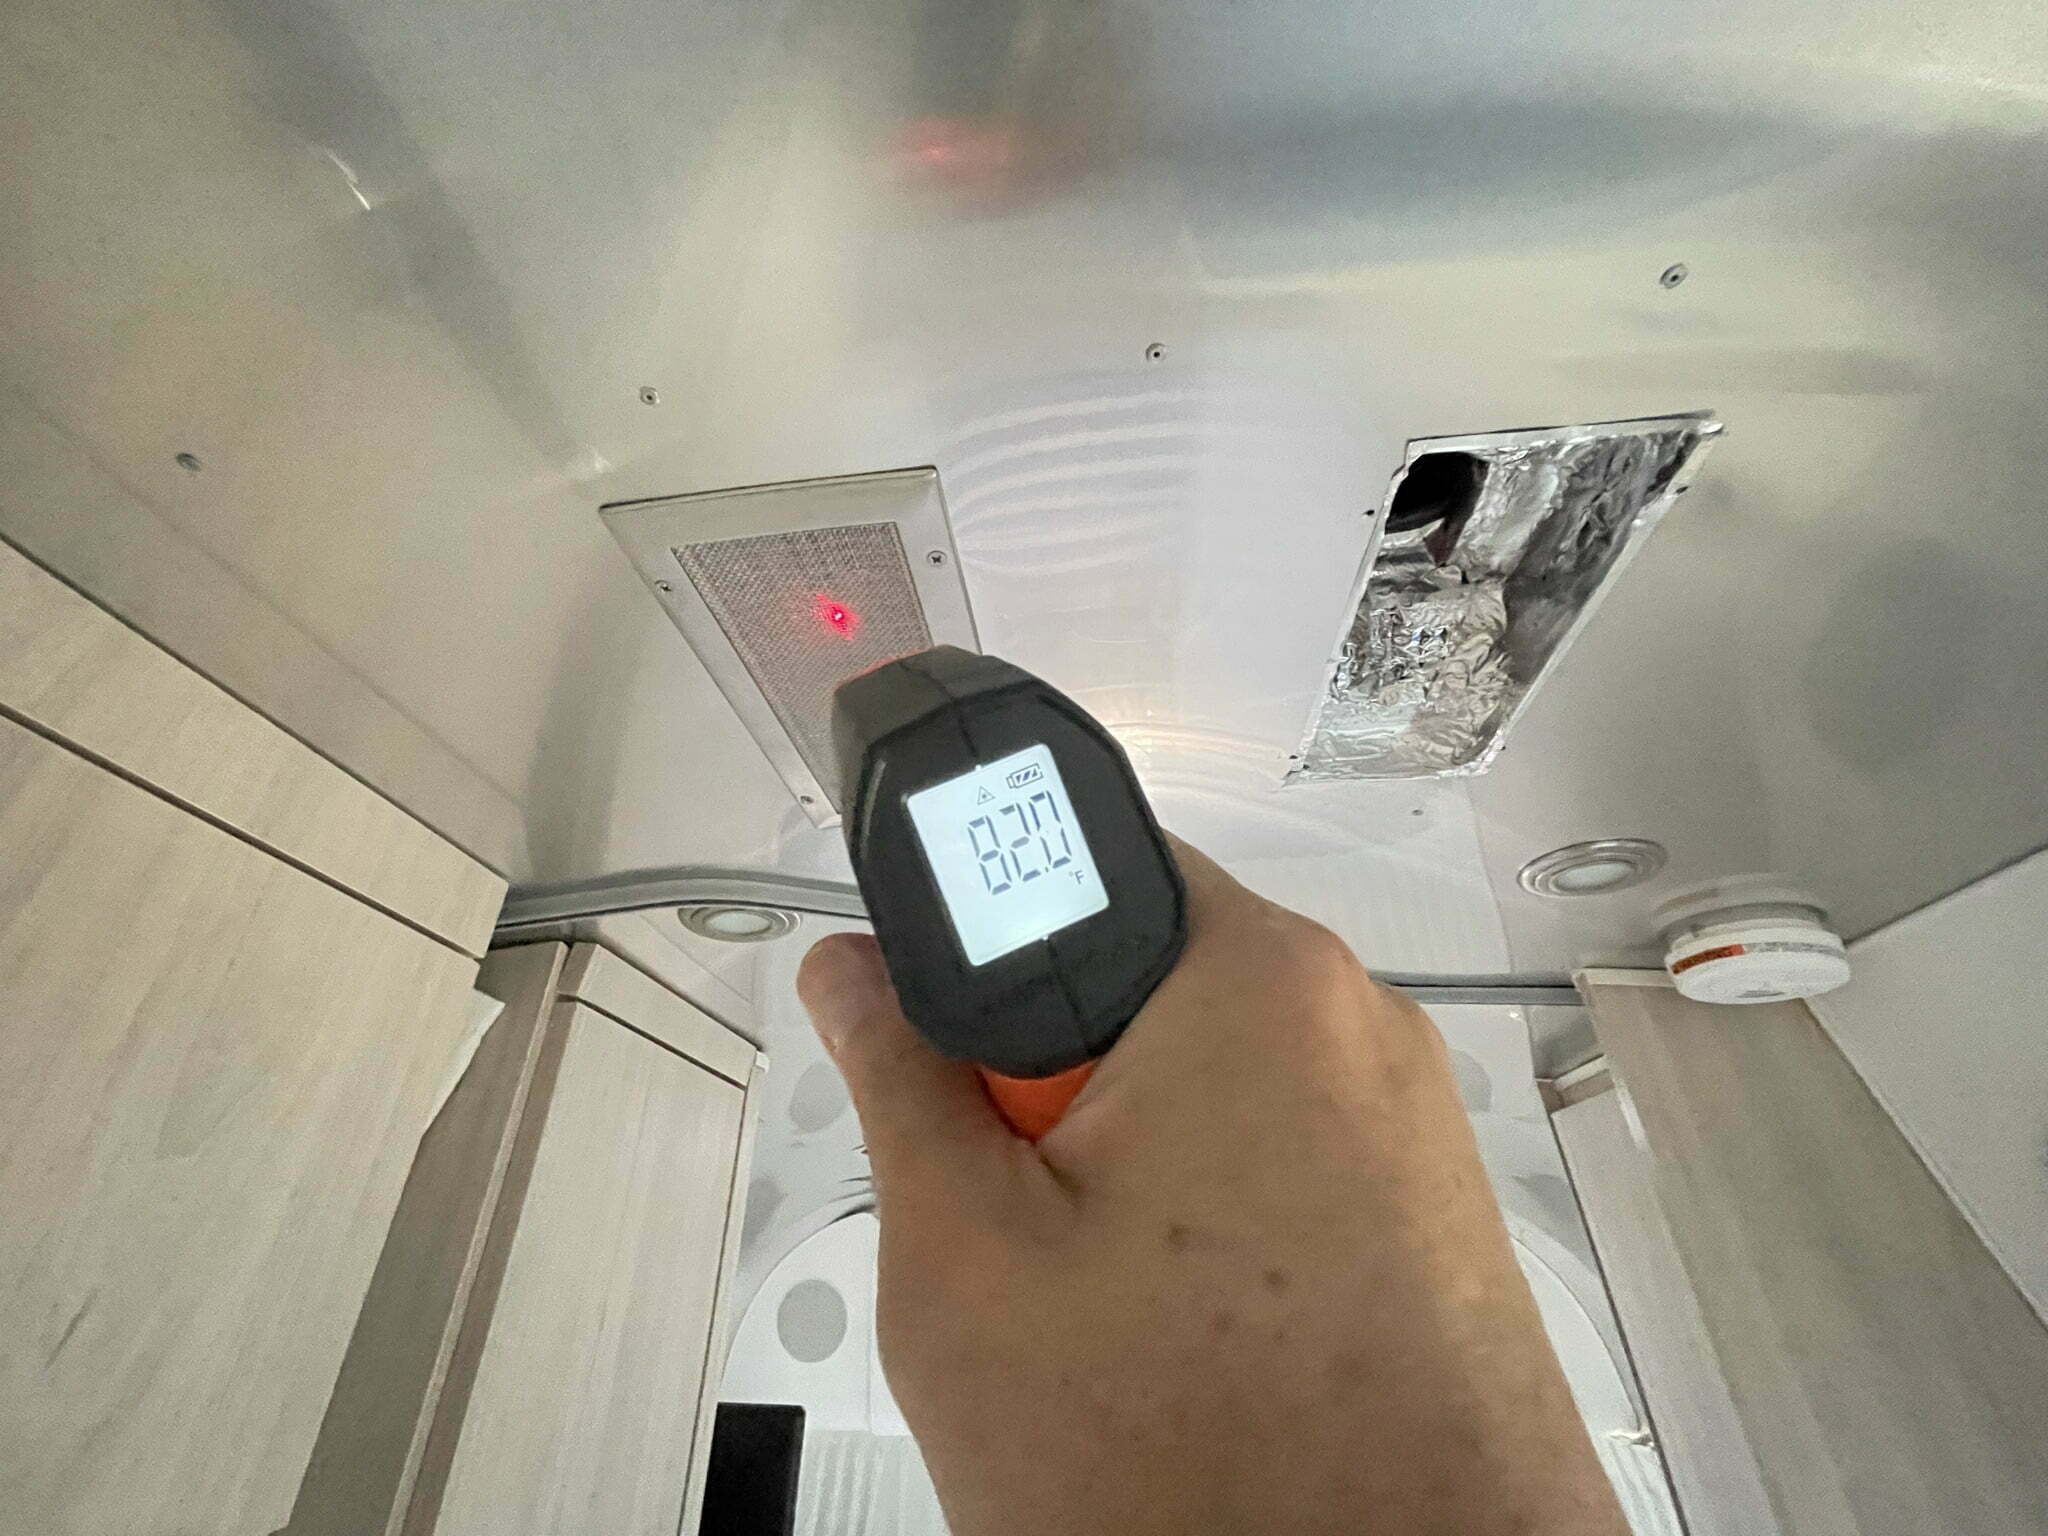
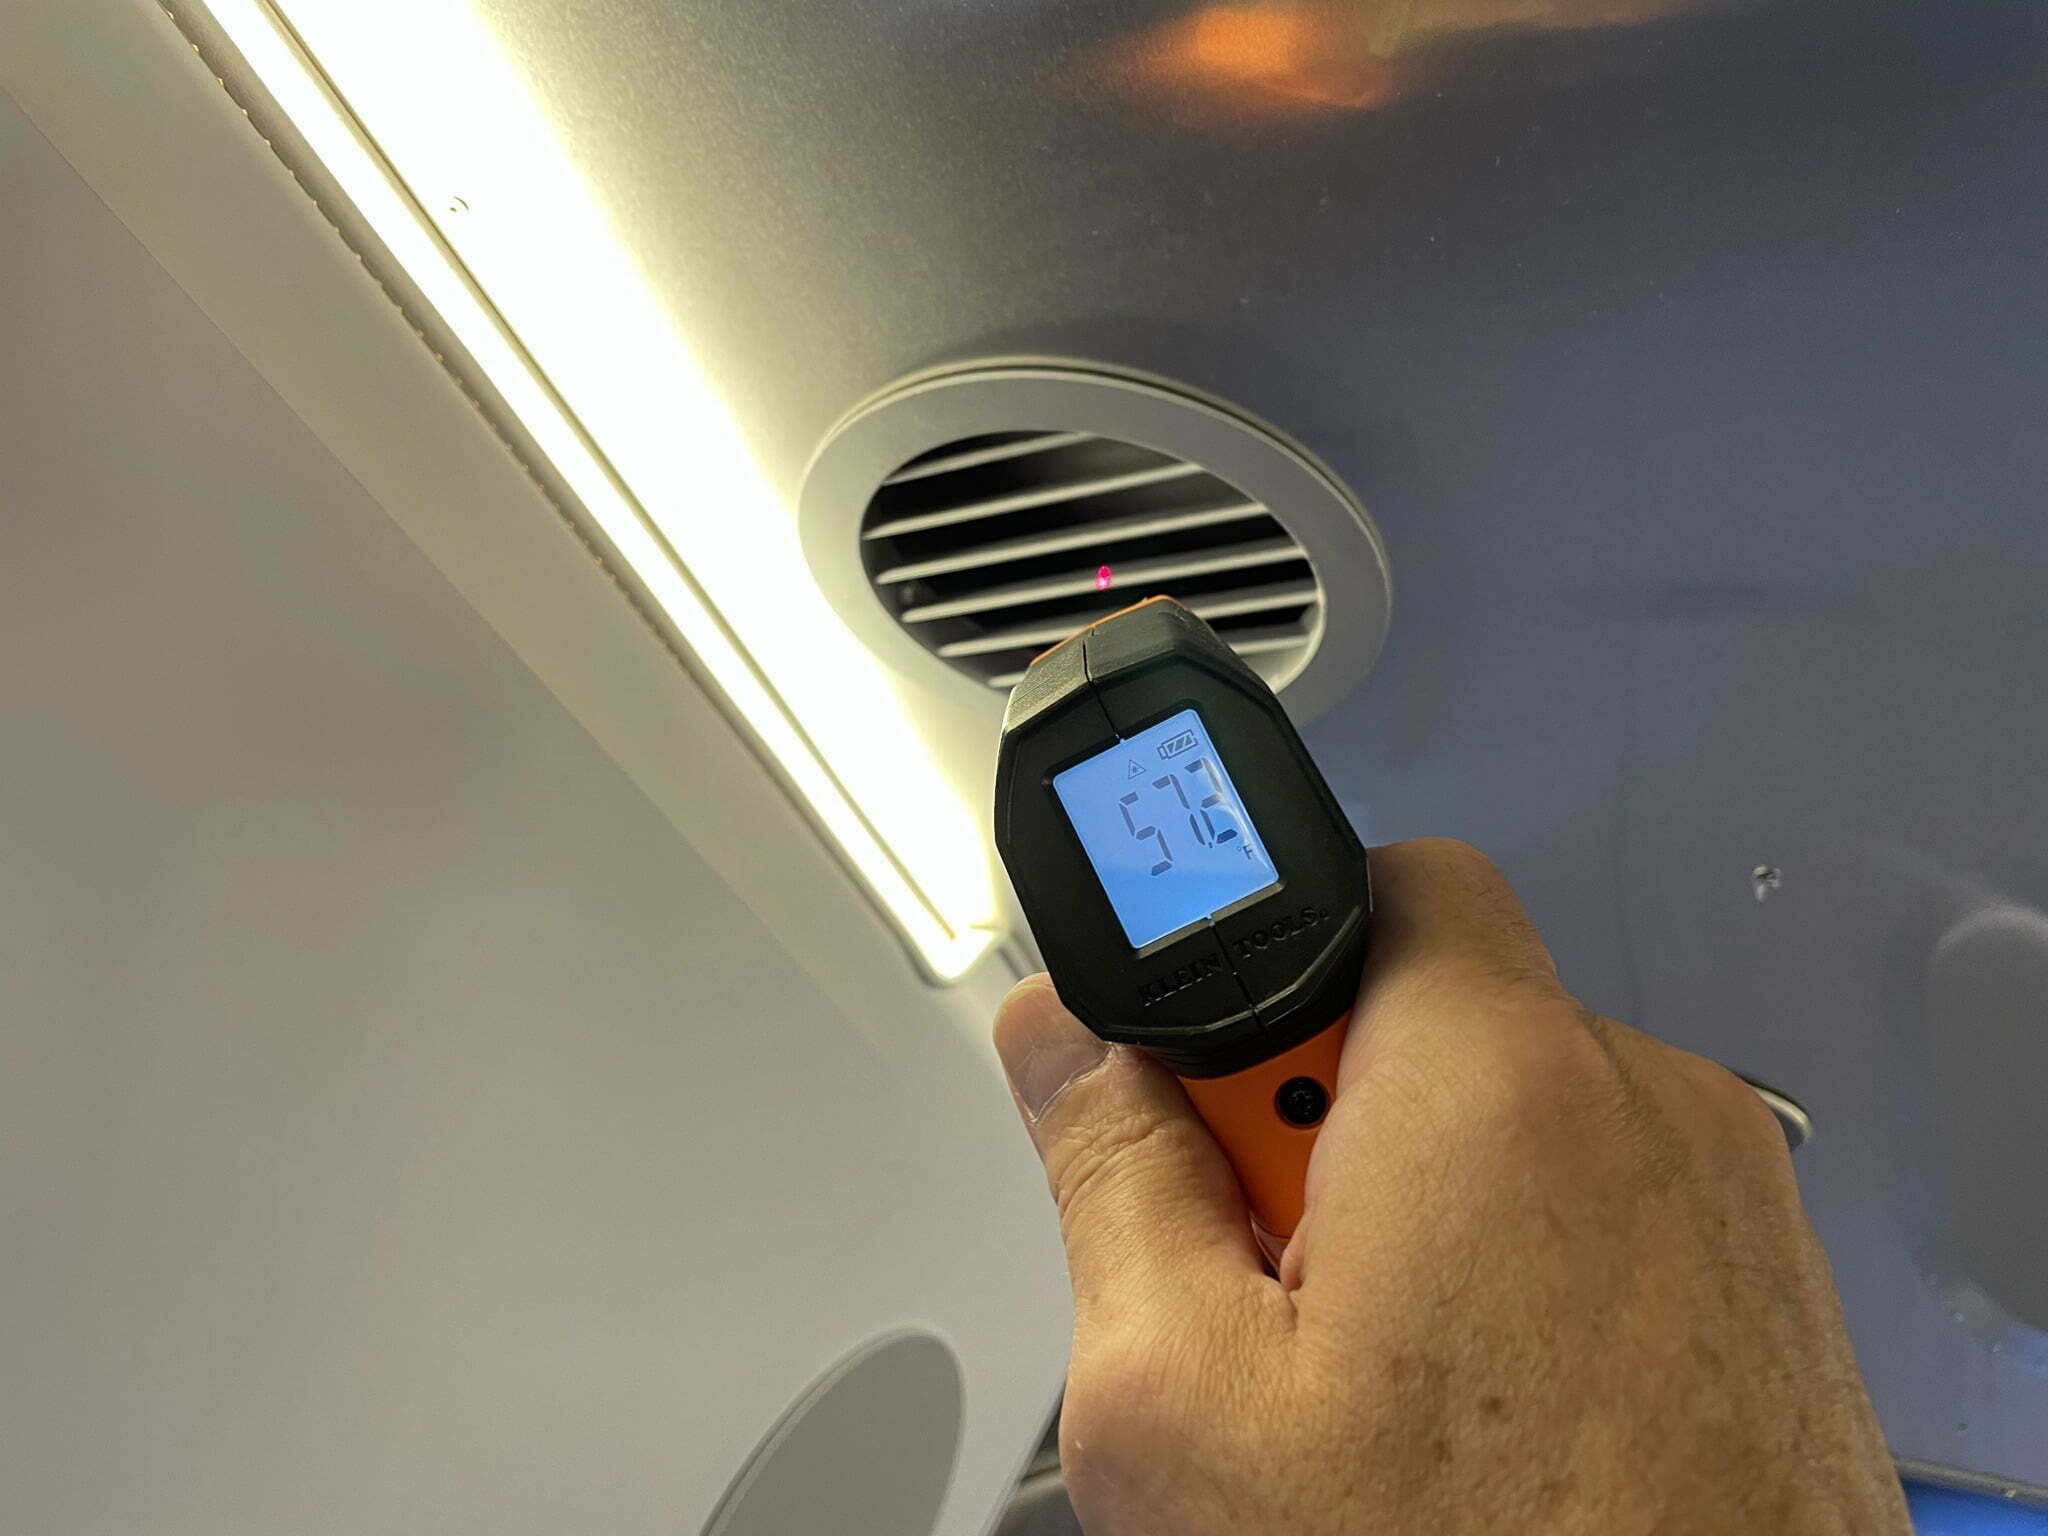
Although I didn’t get measurements prior to doing the upgrades, I measured between 55 and 63 at all of the 6 supply ducts with an inflow temp of 82 and an outdoor temperature in the low 90s. The sound levels in the bed area and near the entry ran ~ 65dB and ~ 70dB directly under the intake vent at chest level.
66 dB at waist level in the bedroom with low fan after ac system improvements.I was impressed with the cooling performance of the AC system after the modifications. Here the intake air temp is 82 ℉ with a outdoor temp of 91 ℉.Discharge air temp ranged from 55 – 60℉ with the intake air temp of 82℉ – a temperature delta of about 25℉. Awesome.
This project is split into 2 projects: 1) Duct grill replacement and 2) Intake vent and manifold improvements.
Overview | Airstream AC Tweaks
Project Goal: Replace the existing late model Airstream air duct covers and improve the air conditioner intake isolation and insulation for better and quieter cooling performance.
Replace Duct Registers With Grilles - Remove Factory Air Duct Registers.
Depending on the Airstream model you have, the grilles will be attached by either locking plastic tabs or tabs and two aluminum pop rivets. More recent models added pop rivets to address grilles that were falling off.
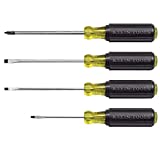
To free the locking plastic tabs, slide a thin plastic putty knife or similar along the aluminum skin passing under the rim of the cover to push in the plastic tabs and release them from the duct cut out. You can also use a thin screwdriver or similar, but use care not to scratch or damage the soft aluminum ceiling panels.
If your ducts are also riveted in place, you will also need to remove the rivets. Newer grilles have a round access hole at the end of the airflow slider to allow access to the rivets. Align the rivets with the access hole and use a 1/8" drill bit to drill through the center of the rivet and release it. Do the same for the other rivet located 180 degree opposite. The grills only have two rivets.
Once the rivets are removed, loosen the plastic tabs and gently pull the cover free from the round duct cutout.
Replace Duct Registers With Grilles - Order Replacement Air Duct Grills and Supplies and Prepare Grills.
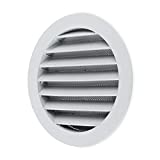
Order replacement grilles and the supplies needed to install them. The Airstream ducts are 5" (125 mm) round rough opening cutouts. There are a variety of possible replacement grille covers available, and after some trial and error, I found the Calimaero 125 mm grey aluminum grilles to be ideal as replacements. They are low resistance, low profile, easy to mount and blend in well with the aluminum ceiling.
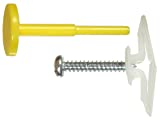
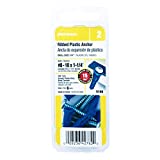
Attaching the replacement grills offers a bit of a creative challenge. I used drywall anchors to do this. First, I attached a wider plastic drywall toggle anchor to one side of the grill using one of the existing holes with a #8 3/4" stainless steel screw. This anchor will support this side of the grill. Then, after enlarging the opposite hole to 3/16", passed a straight, ribbed plastic anchor secured with another #8 3/4" stainless screw to complete the mount once the grill was passed into the ceiling cutout. I upgraded the screws to stainless steel ones that are a bit shorter, but this is obviously not necessary.
Once you have the grills, remove the insect screens. Next drill out of the collar holes with a 3/16" drill bit (or the size for the anchor you plan to use). De-burr the hole with a Philips screwdriver or similar. This hole will accommodate the straight, ribbed plastic anchor used to hold the grill in place once mounted. Alternatively, you could skip the plastic anchor and just use a screw without an anchor to secure the grill, but I worry about the steel screw rubbing against the aluminum ceiling panel and causing damage over time. The anchor was added just to cover the screw and potentially protect the aluminum ceiling panel.
Replace Duct Registers With Grilles - Install the Replacement Air Duct Grills.
Install the new replacement duct grills. Do so by first inserting the side of the grill with the mounted toggle anchor. When inserting the grill, slide the plastic anchor over the top of the aluminum panel and thin, overlaying insulation material. With the toggle-side installed, gently press and work the grill through the cutout and flush with the aluminum ceiling panel. You may need to rotate the grill a bit to find the easiest fit. My duct cutouts were a bit irregular and it helped to rotate the grill to find the best position to insert the grill.
While holding the grill in place, pass one of the straight plastic anchors through the hole, again angling it up to pass the anchor above the aluminum panel and insulation board. With the anchor installed, secure with a screw.
The grills should lay flat against the aluminum ceiling panels. With the curvature of the Airstream ceiling, you may find rotating the grill so the anchors are horizontal to match the curve of the panels will help them to lay flat. The mounted grills should be somewhat free to rotate after mounting, allowing for some control of airflow direction.
Improve Air Return - Remove Air Return Covers, Inspect and Repair
Using a Philips head, unscrew the two stainless steel mesh air intake or return (warm side) covers. Remove and inspect the mesh filter material and clean as needed. Inspect the intake area between the intake cover cutouts and the intake of the mounted air conditioner.
Beware that there is a 20 amp (yellow) 120v wiring (as well as low voltage thermostat wiring) running in this space. Use care not to disrupt the wiring and turn off power to the AC unit prior to inspecting.
When inspecting the intake plenum, look for any gaps between the mounted air conditioning unit and the outside of the trailer. Any evidence of gaps (light coming in), suggests an isolation issue and possibly a faulty or missing gasket between the AC unit and the body of the trailer. If you suspect a gasket issue, consider contacting the Airstream dealer for further investigation as repairing a missing or misplaced gasket will likely require removing the AC unit and re-installing.
In addition to checking the mounting gasket, check for isolation between the intake plenum (warm side, the area you are currently in and inspecting) and the adjacent discharge plenum (cold side) behind the intake and the ducts trunks on either side of the intake plenum. Look for gaps in the isolation material between these areas. Isolation of the return and supply air is important for unit efficiency. Communications between these two areas can result in air mixing and decreased performance.
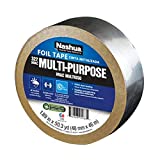
These two areas are typically separated mechanically at the factory using a combination of foil bubble wrap insulation material and foil HVAC duct tape. Occasionally, this isolation is not complete or has broken down. Reinforce this isolation using rolled-up foil bubble wrap (Reflectix) secured with foil tape. The goal is to ensure complete isolation between the warm intake side and the cold discharge side and to smooth the intake manifold surface. A secondary gain may be direct noise reduction by addition sound isolation material between the AC unit and the inside of the cabin.
Improve Air Return - Finish Up
Finish up the sealing and smoothing of the return air plenum with foil tape to secure and smooth all the installed foil bubble wrap insulation. I used Reflectix for this. If you use another product, make sure the product you are using makes sense within the ducts of an AC system - heat resistance, water proof and sturdy. Tape with a high quality HVAC foil tape. Use only tape products designed to be inside of an HVAC system - like foil tape.
Finish by replacing the air filters (clean first) and vent cover grilles. If you have an infrared thermometer, you can use it to check the function of your system. The evaporator coil just above the intake plenum that cools the incoming warm air should read somewhere around 55 - 60 degress F. The supply ducts should read very similar to the cold coil temp, depending on the outdoor temp, roof sun exposure, etc. The difference between the warm air temp at the intake (return) grilles and the discharge (supply) grilles should be around 20 - 25 degrees different. Allow the unit to run for 10 - 20 minutes prior to testing for accurate results. If you do not have an IR laser thermometer, get one, they are awesome and only around $20!
Thank you so much for your wonderful video. We had been settling for open vents in our 2016 FB due to the poor design of the factory vents. We followed your ideas to a t and are extremely pleased with the results. The vents look great and function perfectly. The camper is now cool and looks great!!
DID This really help ? did you block off all around the intake?